Anatomy Table Guide: How to Use It Effectively
Introduction: Anatomy Table in Modern Medical Education
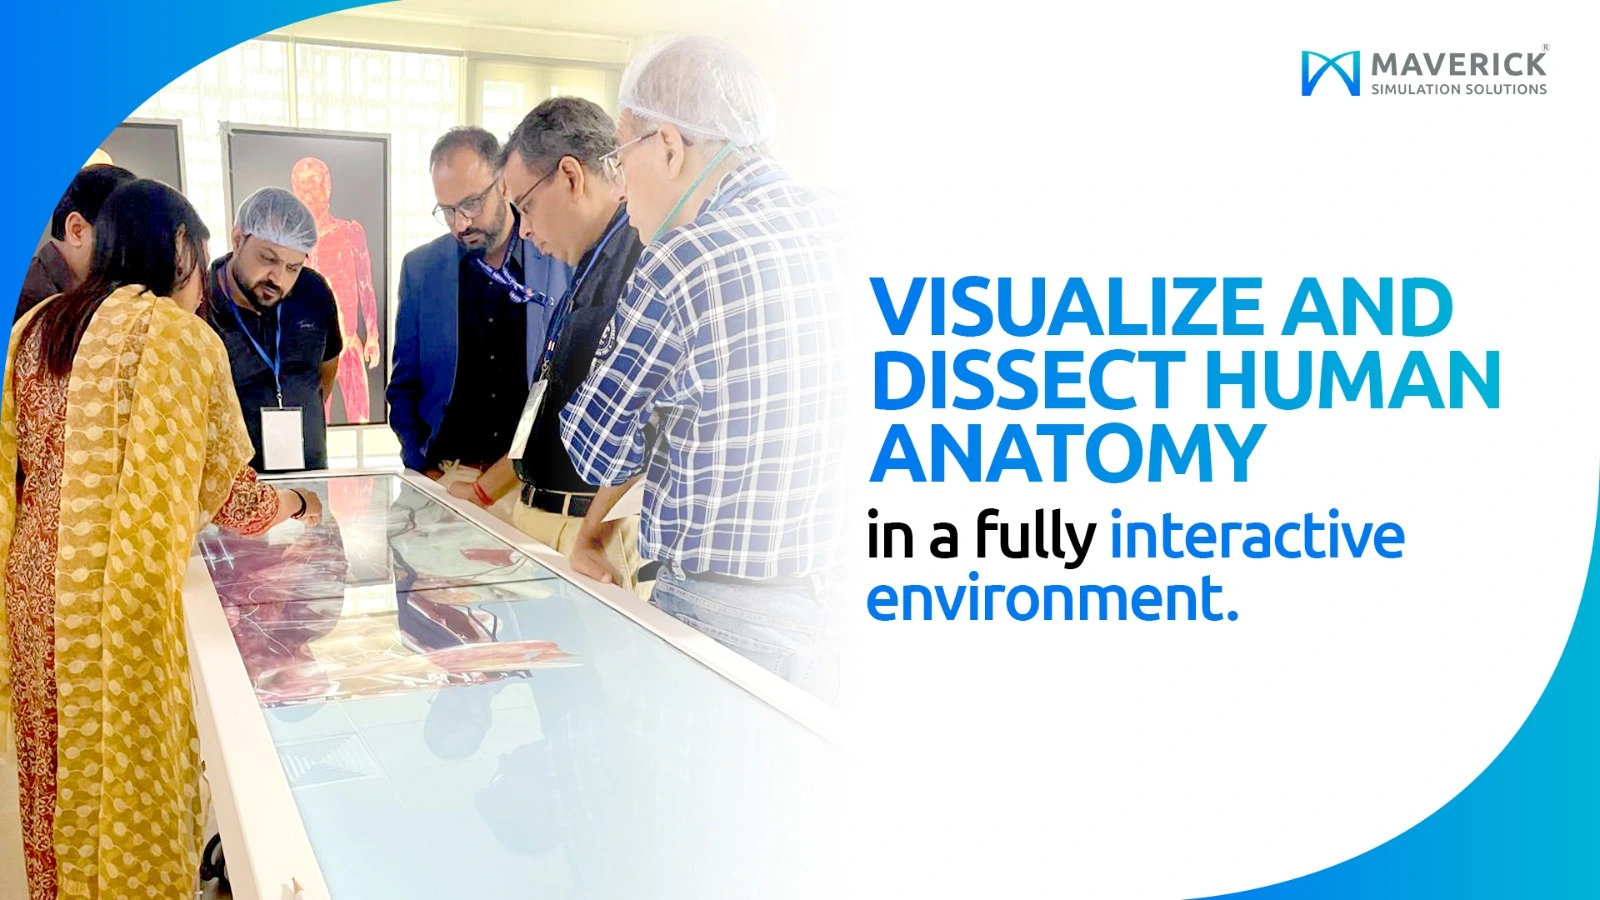
The Anatomy Table is transforming how students learn human anatomy in today’s modern clinical education environment. This advanced, life-sized interactive system allows users to explore the human body in detailed 3D, making anatomy learning more engaging, visual, and effective.
At Maverick Simulation Solutions, we help institutions integrate advanced simulation technologies efficiently, ensuring educators and students gain maximum value from every Anatomy Table. If you are wondering how to use the Anatomy Table effectively, this complete guide will walk you through everything step by step in simple language.
What is an Anatomy Table?
An Anatomy Table is a virtual dissection platform that displays high-resolution, real human anatomical data. Instead of using traditional cadavers, students can explore organs, muscles, bones, nerves, and body systems digitally through an interactive touch interface.
One of the most advanced systems in this category is the Anatomage Table, which enables users to:
- Perform virtual dissections
- Rotate 3D anatomical structures
- Zoom into tissues and organs
- Study pathology cases
- Compare male and female anatomy
Why Use an Anatomy Table?
Medical institutions are rapidly adopting the Anatomy Table because it offers multiple advantages over traditional learning methods:
- Enhances visual learning and understanding
- Eliminates ethical concerns related to cadavers
- Reduces maintenance and operational costs
- Enables unlimited repetition of dissections
- Provides real clinical case-based learning
With proper training from Maverick Simulation Solutions, educators can seamlessly integrate the Anatomy Table into their curriculum.
How to Use Anatomy Table – Step-by-Step Guide
1. Power On and System Setup
Start by powering on the Anatomy Table. Once the system loads:
- Log in using institutional credentials
- Select modules (Gross Anatomy, Imaging, Pathology, etc.)
- Choose male or female anatomy
Ensure the screen is clean and responsive before starting.
2. Navigating the 3D Human Body
The Anatomy Table works like a touchscreen device:
- Pinch to zoom
- Swipe to rotate
- Tap to select structures
You can isolate systems such as:
- Skeletal system
- Muscular system
- Nervous system
- Cardiovascular system
This makes learning highly interactive and visually engaging.
3. Performing Virtual Dissection
One of the most powerful features of the Anatomy Table is virtual dissection.
Steps include:
- Select the “Dissect” tool
- Use cutting planes to remove layers
- Explore internal anatomy
Unlike cadavers, dissections can be repeated without any damage.
4. Studying Cross-Sections and Imaging
The Anatomy Table allows viewing of:
- CT scans
- MRI images
- Real patient datasets
Students can analyze sagittal, coronal, and axial views—critical for radiology training.
5. Using Pathology Cases
Another key feature of the Anatomy Table is its pathology library.
You can:
- Load real clinical cases
- Compare normal vs abnormal anatomy
- Study tumours, fractures, and diseases
This bridges the gap between theory and real-world practice.
6. Saving and Sharing Sessions
The Anatomy Table allows educators to:
- Save dissections
- Capture screenshots
- Create teaching modules
- Share sessions with students
At Maverick Simulation Solutions, we also provide structured training to maximize learning outcomes.
Best Practices for Using Anatomy Table
To get the best results from the Anatomy Table:
- Start with guided sessions
- Avoid information overload
- Integrate imaging and pathology
- Encourage interactive learning
Proper usage ensures the Anatomy Table becomes a powerful teaching tool—not just a display system.
Advantages of Anatomy Table Technology
The Anatomy Table offers several benefits:
- 3D visualization improves retention
- Interactive learning enhances understanding
- Safe and hygienic alternative to cadavers
- Unlimited practice opportunities
- Real patient-based clinical scenarios
It is ideal for:
- Medical colleges
- Nursing institutes
- Physiotherapy programs
- Dental and allied health training
- Surgery plannings
At Maverick Simulation Solutions, we provide advanced Anatomy Table systems with complete setup, training, and support to help institutions modernise their anatomy labs. Explore research on digital anatomy learning
Common Mistakes to Avoid
While using the Anatomy Table, avoid:
- Skipping initial training
- Ignoring pathology modules
- Not using imaging integration
- Overloading students with information
Proper guidance ensures better learning outcomes.
Conclusion
The Anatomy Table is revolutionizing medical education by offering an immersive, interactive, and repeatable learning experience. Understanding how to use the Anatomy Table effectively helps institutions improve teaching quality and student performance.
With expert support from Maverick Simulation Solutions, educators can fully utilize the potential of the Anatomy Table and build future-ready anatomy labs.
Frequently Asked Questions (FAQs)
1. What is an Anatomy Table used for?
An Anatomy Table is used for virtual dissection, 3D visualization, pathology study, and medical imaging training.
2. Is Anatomy Table better than cadaver dissection?
An Anatomy Table is used for virtual dissection, 3D visualization, pathology study, and medical imaging training.
3. How long does it take to learn Anatomy Table usage?
Basic navigation of the Anatomy Table can be learned within a few hours, while advanced features require training.
4. Can Anatomy Table be used in nursing and physiotherapy?
Yes, the Anatomy Table is widely used in nursing, physiotherapy, dental, and allied health education.
5. Does Maverick provide Anatomy Table training?
Yes, Maverick Simulation Solutions offers complete setup, training, and support for physically dissected real-tissue virtual Anatomy Table systems.